Bunny Chocolate Bars Tutorial and Kid-Friendly Recipe


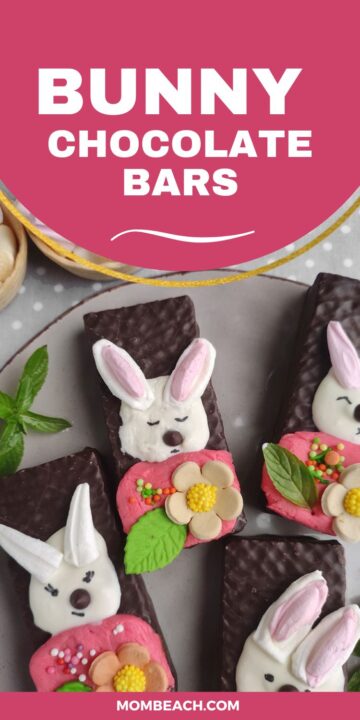
There’s nothing quite as delightful as indulging in the sweet charm of bunny chocolate bars. These adorable treats combine irresistible chocolatey goodness with a playful design that captures the essence of joy and celebration. Perfect for Easter gatherings, party favors, or simply as a whimsical snack for kids and adults alike, bunny chocolate bars add a touch of sweetness to any occasion.

With their intricate bunny shapes and rich, velvety taste, they’re as much a feast for the eyes as they are for the palate. You can find these delightful treats ready-made in a variety of flavors and styles, from classic milk chocolate to decadent dark or white chocolate with festive decorations.

For those who enjoy a hands-on approach, making your own bunny chocolate bars at home is a fun and creative activity. Using bunny-shaped molds, you can customize them with sprinkles, candy pieces, or even edible glitter to suit your theme.

Whether you’re unwrapping a store-bought masterpiece or sharing your own creations, bunny chocolate bars are the perfect way to hop into a world of sweetness and fun. These treats are guaranteed to bring smiles to everyone, making them a must-have for your next celebration!

What makes bunny chocolate bars so special is their delightful combination of versatility, flavor, and charm. These whimsical treats come in a wide range of flavors, catering to every chocolate lover’s palate. From the smooth creaminess of milk chocolate to the bold richness of dark chocolate, and even indulgent filled options like caramel, peanut butter, or fruit creams, there’s truly something for everyone.

But the appeal doesn’t stop at taste—bunny chocolate bars are also a feast for the eyes. Their intricate bunny designs, often adorned with seasonal decorations like pastel colors, edible glitter, or candy embellishments, make them ideal for themed events such as Easter celebrations, springtime parties, or baby showers. They’re also perfect as thoughtful gifts or party favors, adding a personal touch that’s sure to delight recipients of all ages.

Whether you’re enjoying them as a sweet snack, using them as part of a festive dessert table, or giving them as a charming gift, bunny chocolate bars bring a touch of fun and indulgence to any occasion. Ready to hop into the world of bunny chocolate bars? Let’s discover the most creative and delicious ways to enjoy these irresistible treats!

Ingredients you will need for the Bunny Chocolate Bars:
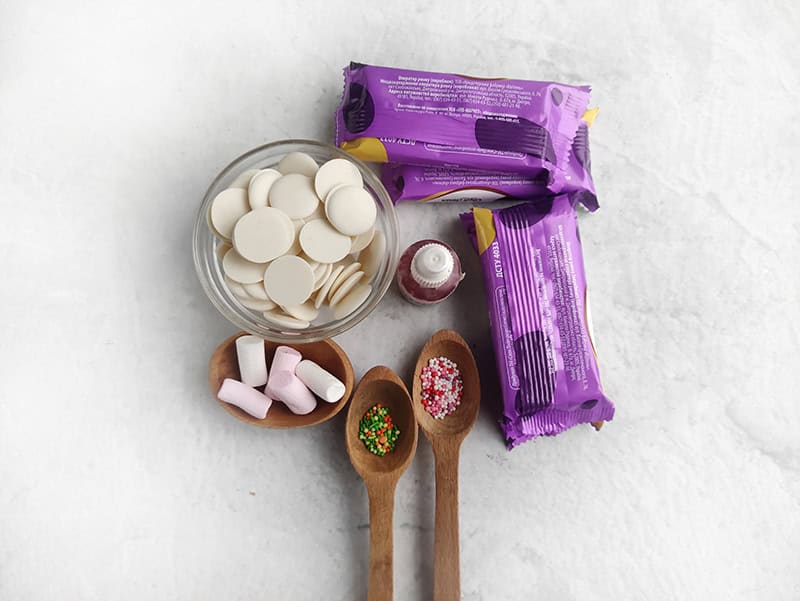
Ingredients

Tools

Follow the recipe below to create this super cute Bunny Chocolate Bars!

Instructions for the Bunny Chocolate Bars:

Step 1: Unpack and Arrange the Bunny Chocolate Bars

  1. Carefully Unwrap: Gently remove the packaging from each bunny chocolate bar, taking care not to damage the delicate chocolate coating or any decorative details.
    • Tip: If the bars are chilled, let them sit at room temperature for a few minutes to prevent cracking during unwrapping.
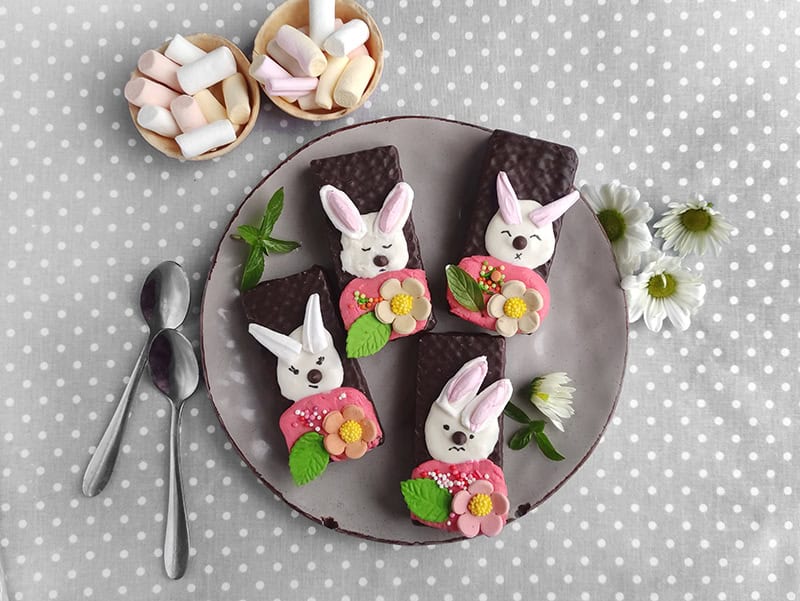
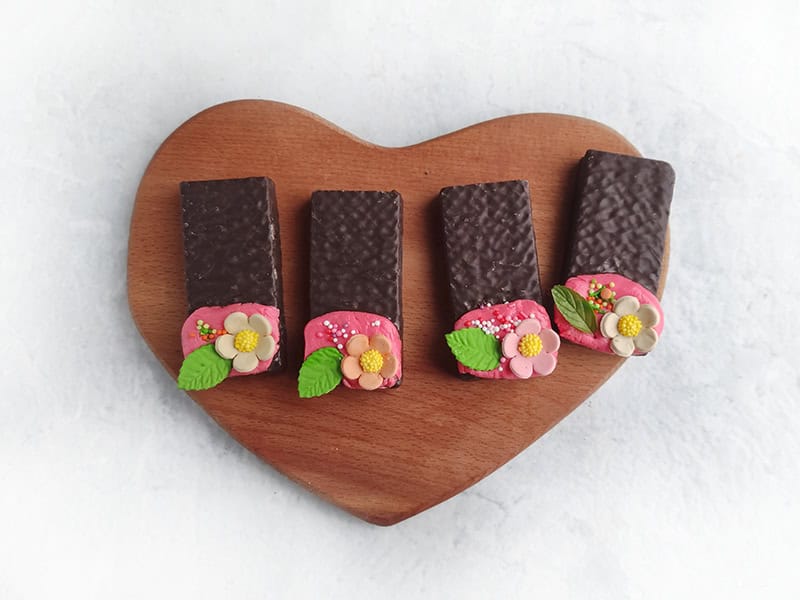
  2. Arrange on a Board: Place the unwrapped chocolate bars neatly on a clean, flat surface such as a cutting board, serving tray, or decorative platter.
    • Tip: For a festive presentation, line the board with parchment paper, colorful napkins, or a layer of shredded paper in pastel colors to complement the bunny theme.

This setup ensures the bunny chocolate bars are ready for decorating, serving, or displaying as part of a themed dessert table!

chocolate bunny barschocolate bunny bars

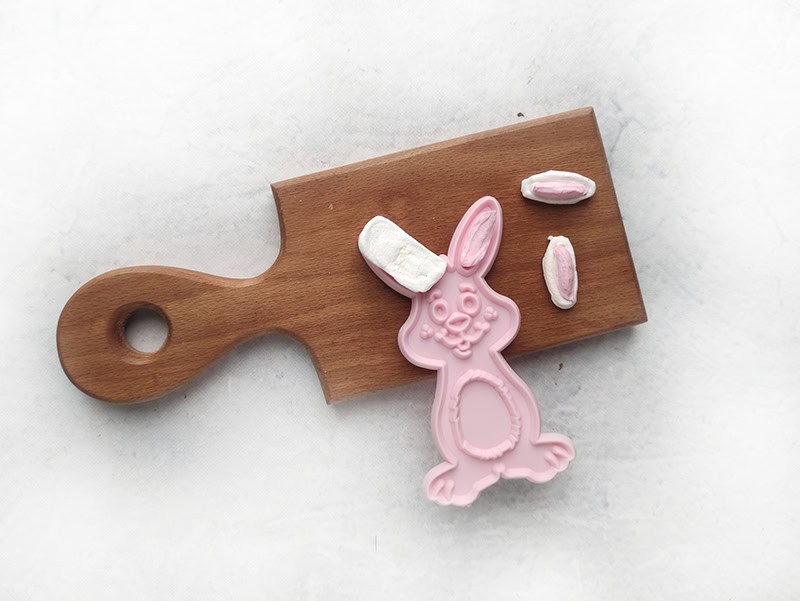
Step 2: Create the Bunny Ears

  1. Using a Mold:
    • Take pink marshmallows and place them into a mold shaped like bunny ears or similar.
    • Press the marshmallows firmly to compact them and create the pink inner part of the ear.
    • Layer white marshmallows on top of the pink layer to form the outer edge of the ear.
    • Press gently to ensure the layers stick together.
  2. Without a Mold:
    • Flatten the pink marshmallows slightly by pressing them with your fingers or rolling them out gently.
    • Use scissors to cut out an elongated oval shape for the pink inner ear.
    • Repeat with white marshmallows, cutting slightly larger ovals to form the outer edge of the ear.
    • Attach the pink inner piece to the white outer piece by pressing them together gently.
  3. Set the Ears Aside:
    • Once shaped, let the marshmallow ears sit for a few minutes to hold their form before attaching them to the bunny chocolate bars.

These marshmallow bunny ears add a whimsical, 3D touch to your chocolate bars, making them even more delightful and festive!

Step 3: Decorate with Colored Chocolate and Sprinkles

  1. Melt the Chocolate:
    • Place chocolate drops in a microwave-safe bowl and heat in 15-second intervals, stirring between each, until fully melted and smooth.
    • Add a few drops of pink food coloring (ensure it’s oil-based to mix properly with the chocolate). Stir until the color is evenly distributed.
  2. Decorate the Candies:
    • Using a small spoon or piping bag, add 1/3 teaspoon of the pink-colored chocolate onto each bunny candy bar in your desired location (e.g., ears, cheeks, or a decorative area).
    • While the chocolate is still soft, sprinkle it with colorful sprinkles for added flair.
  3. Add Flowers:
    • Arrange edible flowers, candy flowers, or sugar decorations on top of the pink chocolate before it sets. Press gently to secure them in place.
  4. Chill the Treats:
    • Place the decorated bunny bars in the refrigerator for about 15 minutes to allow the chocolate and decorations to harden completely.

These final touches not only make the bunny chocolate bars visually stunning but also add a fun and festive texture to each bite!

Step 4: Create and Personalize the Bunny Faces

  1. Melt the Remaining Chocolate:
    • Heat the remaining chocolate drops in a microwave-safe bowl in 15-second intervals until smooth and fully melted.
  2. Form the Bunny Faces:
    • Scoop approximately 1/3 teaspoon of the melted chocolate and carefully shape it into a circular or oval face on each bunny candy bar.
  3. Attach the Ears:
    • While the chocolate is still warm, gently press the prepared marshmallow ears onto the top of each face. Hold them in place for a few seconds to ensure they stick securely.
  4. Add a Nose:
    • Place a chocolate drop or candy piece on the bunny’s face to form the nose, positioning it near the center of the chocolate.
  5. Chill the Bunnies:
    • Transfer the decorated bars back to the refrigerator and let them set for about 20 minutes to harden completely.
  6. Draw the Faces:
    • Using a food-safe marker, draw expressions on the bunny faces. Add eyes, mouths, or even whiskers.
    • Get creative and vary the expressions—make some bunnies look happy, surprised, sleepy, or mischievous to give them unique personalities.

By giving each bunny its own mood, these treats become not just delicious, but also playful and full of character, adding even more fun to your creations!

Bunny Chocolate Bars

Add a little chocolate flavor to yourEaster feast with delicious Easter Bunny bars! These cute and delicious treatswon’t go unnoticed on your holiday table. Rich chocolate, crispy wafer textureand flavorful additives make these bars the perfect dessert for the wholefamily. And decorated in the shape of funny bunnies, they will not only pleasewith their taste, but also decorate your Easter.For the recipe, take large chocolate filledwaffle candies and bars. For the ears, we used white and pink coloredmarshmallows. You will need a marker with edible ink to draw the faces.These chocolate bars are easy to make andperfect for making together with kids. Let’s get started!

Ingredients  

  • 4 Large Chocolate Covered Candies
  • 4 White Marshmallows
  • 4 Pink Marshmallows
  • 1/4 cup White Chocolate Drops
  • 1/2 tsp Sprinkles, ready-made sugar flowers
  • 4 mini Chocolate eye drops
  • 2 drops Red food coloring

Notes

You can serve the funny bunnies on assembled boards or hide them with the eggs. Happy Easter!

Keyword bunny chocolate bars

Why Bunny Chocolate Bars Are Fun for Kids to Make

  1. Hands-On Creativity:
    Kids get to shape, decorate, and personalize each bunny chocolate bar, letting their imagination run wild. From creating marshmallow ears to drawing funny or cute expressions, they can turn each treat into a one-of-a-kind masterpiece.
  2. Interactive Steps:
    The process involves several fun activities, like melting chocolate, sprinkling decorations, and arranging candy flowers. These interactive steps keep kids engaged and entertained throughout the project.
  3. Customizable Designs:
    With endless ways to decorate—using sprinkles, candies, edible markers, and colorful chocolate—kids can experiment and express their individuality. Every bunny can look different, which adds to the excitement.
  4. Messy Fun:
    Let’s face it, kids love a little mess! From sticky marshmallows to melted chocolate, this project gives them the chance to have fun while learning how to tidy up afterward.
  5. Holiday-Themed Excitement:
    The bunny design makes these chocolate bars perfect for Easter or spring celebrations, giving kids a chance to contribute something special to the occasion.
  6. Teamwork and Bonding:
    Whether working together with siblings, parents, or friends, making bunny chocolate bars is a great activity for fostering teamwork and creating shared memories.
  7. Quick Gratification:
    Since the bars are easy to make and don’t take long to set, kids can enjoy the fruits of their labor almost immediately, making the activity even more rewarding.

By combining creativity, teamwork, and tasty rewards, bunny chocolate bars offer a delightful way for kids to enjoy time in the kitchen while having fun!

Comment below if you will create this Bunny Chocolate Bars recipe!

What do you think about this recipe?

Related Posts:

Pin to Pinterest:

Pin to Pinterest so other moms can find out about this Bunny Chocolate Bars Recipe and Tutorial!

bunny chocolate barsbunny chocolate bars